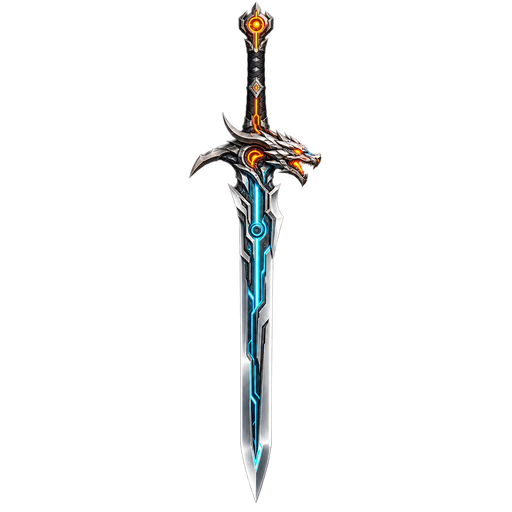
Mastering the intricacies of reblade parrying can mean the difference between a swift, punishing defeat and a cinematic victory in ChillyRoom’s cyberpunk action roguelike. Because this title demands precise timing and strategic resource management, understanding reblade parrying is essential for any player looking to conquer its toughest trials.
Understanding the Core Mechanics of Reblade Parrying
At its heart, the combat system revolves around high-stakes defensive maneuvers. Players can deflect incoming enemy fire—ranging from standard melee strikes to heavy machine gun volleys—using a specialized sword. However, the system imposes strict constraints that prevent mindless button mashing. For instance, breaking a boss’s guard via basic actions deals no direct damage on its own, forcing players to rely on specialized follow-up mechanics. Furthermore, unblockable red attacks cannot be deflected normally, requiring precise positioning or specialized evasion.
| Mechanic Type | Function | Effective Counterplay |
|---|---|---|
| Melee Strikes | Standard close-range enemy attacks | Standard deflect or stance follow-ups |
| Ranged Projectiles | Bullets, spit, and fast-moving hazards | Deflection or specialized counter skills |
| Red Attacks | Unblockable heavy boss attacks | Manual dodging or repositioning |
| Guard Break | Depleting enemy poise meters | Capitalize with Action Point (AP) generation |
Community reports indicate that mastering these fundamentals early on prevents frustrating health losses. When tackling dense groups of ranged enemies, timing your deflections correctly acts as a reliable method to stabilize your defensive flow and build momentum.
Advanced Offensive Scaling: Action Points and Gleaming Stance
Surviving mid-to-late-game nodes requires shifting from pure defense to aggressive resource conversion. This is where advanced weapon mods and Action Points (AP) come into play. Certain chips and upgrades allow players to generate AP without relying on standard basic attacks, transforming defensive blocks into offensive capital.
One of the most potent discoveries for build craft involves acquiring a weapon with the Gleaming Stance ability. This modifier allows you to catch an incoming attack with a precise parry and immediately launch into a devastating repost.
| Upgrade / Mod | Resource Cost | Primary Benefit |
|---|---|---|
| Parry Siphon | Passive Chip | Grants a percentage chance to recover AP on perfect parries |
| Gleaming Stance | AP Consumption | Enables immediate counter-reposts after a successful defensive catch |
| Break Harvest | AP Generation | Generates AP instantly upon breaking an enemy guard |
| Elemental Discharge | Energy Bar | Spends weapon energy to add elemental damage to reposts |
According to player experience reports, balancing your AP economy is crucial. If you drop below your required threshold during a boss encounter, you are forced to wait for incoming strikes, turning the fight into a test of endurance.
Managing Shop Economy and Resource Allocation
Roguelike progression relies heavily on resource management between nodes. As you clear combat encounters, you will acquire black copper and monocrystalline silicon, which serve as the primary currencies for weapon enhancements and chip upgrades.
| Currency Type | Primary Use Case | Recommended Investment Priority |
|---|---|---|
| Black Copper | Weapon upgrades, mod slots, and merchant items | Weapon damage multipliers and repost damage scaling |
| Monocrystalline Silicon | Chip enhancements and passive bonuses | Parry Siphon reliability and critical damage |
| Repair Flasks | Restoring health during trials | Buy whenever available to maintain a safety net |
To maximize your resource efficiency, always clear optional platforming sections and explore side paths before advancing the round counter. Because the counter only increases upon finishing a node, grabbing extra chests and recycling unwanted weapon drops for black copper ensures your build stays financially viable for late-game merchants.
Boss Encounters and High-Level Strategies
Boss fights test every rule you have learned throughout your run. Whether you are facing multi-phase horrors like the Ravager or chaotic mini-bosses in tight arenas, adapting your parry strategy is non-negotiable.
| Boss Name | Key Threat | Recommended Tactic |
|---|---|---|
| The Rat | Poison pools and minion spawns | Focus on counter-attacks using grenades; avoid direct melee trades |
| Halluo | Kitchen dojo blade-heels and tentacles | Learn standard combo timings before committing to Gleaming Stance |
| The Ravager | Unblockable lunges and fiery phase transitions | Utilize tracking arrow mods and maintain AP reserves for emergency spacing |
When facing aggressive opponents who mix unblockable grabs with rapid combos, greed will cost you your revives. Maintaining a healthy reserve of healing flasks and utilizing passive arrow generation mods—which fire automatically whenever you spend AP—ensures constant background damage even while you focus entirely on defensive timing.
For more information on the game’s development and upcoming test phases, you can check out the official Reblade Steam Page to try out public demo builds.
Frequently Asked Questions
Can you beat Reblade using only parries?
Yes, challenge runs have proven that creative builds utilizing specialized stance modifiers, AP generation chips, and secondary counter mechanics can successfully clear content relying exclusively on defensive inputs.
How do you generate Action Points without basic attacks?
You can generate Action Points by equipping specific chips like Parry Siphon, utilizing Break Harvest on guard breaks, and taking advantage of gear modifiers that reward precise defensive timings.
What happens when you try to parry red attacks?
Unblockable red attacks bypass standard defensive blocks and grabs your character. You must rely on manual dodging or positioning rather than attempting a direct parry against these specific animations.